
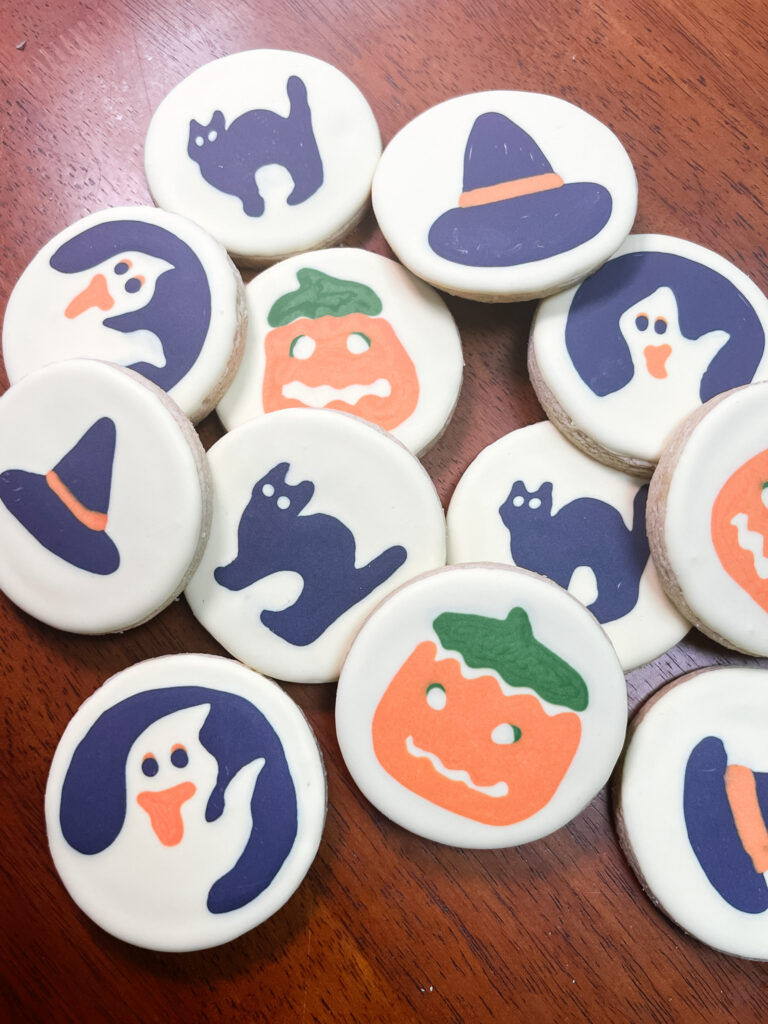
You’re Pillsbury obsessed for whatever reason want to decorate cookies in the same design? Boy, have you come to the right place! Whether you’ve decorated cookies with royal icing before or this is your first time, this Pillsbury inspired Halloween beginner cookie set is a perfect evening activity.
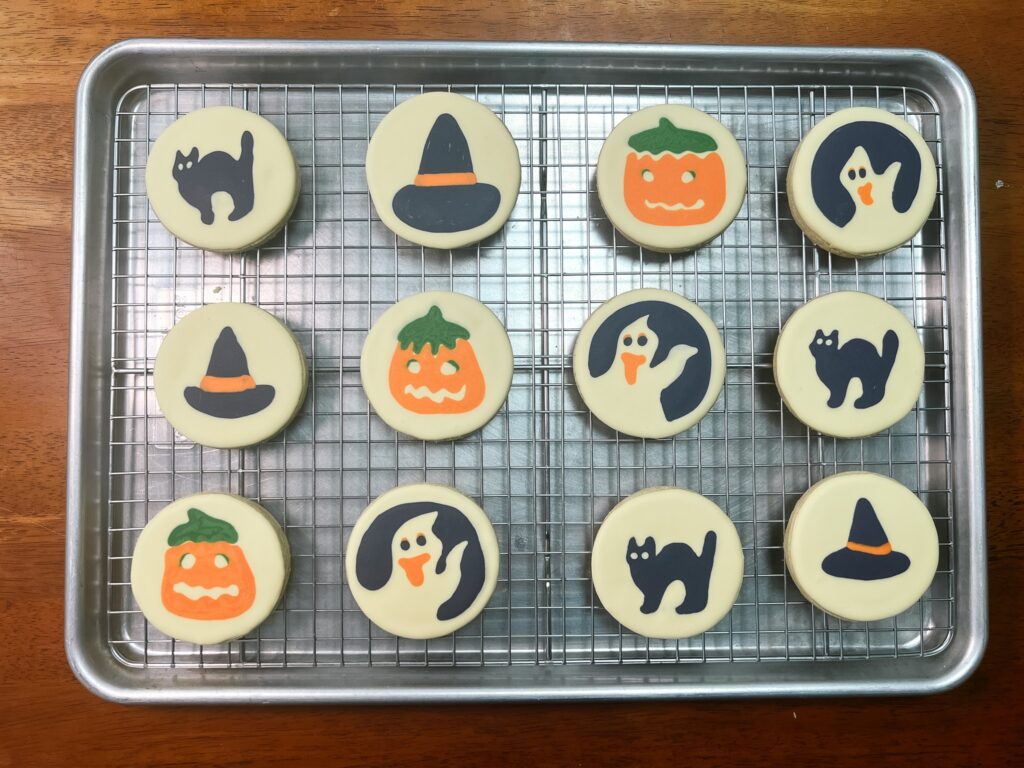
This set includes four designs, all on circle cookies: a pumpkin, ghost, witch’s hat, and spooky cat. A nod to the slice-and-bake Pillsbury Halloween cookies that so many homes enjoy every year.
…But I never had them growing up. Coming from an “ingredients-only household,” it was all about baking your own cookies. So every October these cookies showed up on someone else’s counter and I’d enjoy away 😉.
Wet-On-Wet Decorating
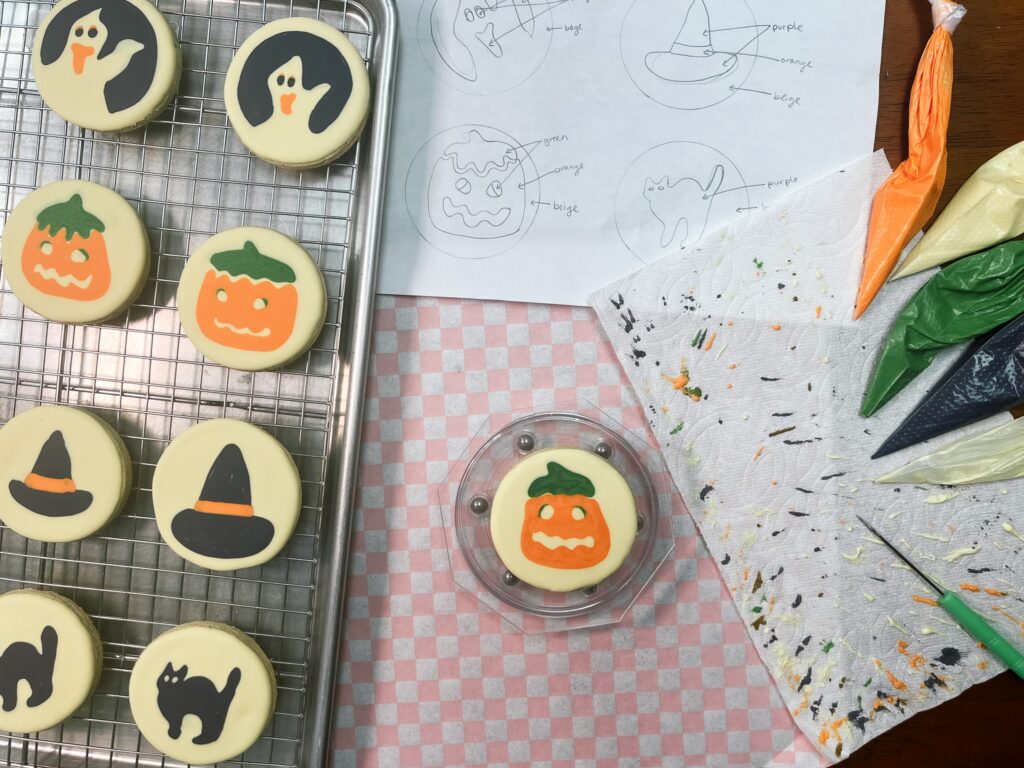
The wonderful thing about these Pillsbury inspired designs is that in royal icing, they would be considered “wet-onwet”. Every design gets piped on while the base icing is still wet, which means no dry time between steps and one icing consistency to mix.
While wet-on-wet can be a great beginner start, it also comes with it’s own idiosyncrasies, like bloating! The icing you add onto your base pushes your intended design out and your crisp ghost shape turns into a blob (oh boy, did this happen on the cat the most!). Your scribe tool can come in handy to push the icing where you want it. Traditionally, you might have seen a scribe dragging or feathering, but here, you can gently push icing back where you want it before everything sets.
The upside of a set like this is speed. All the cookies can be done in one sitting and from start to finish (including baking!) can be an evening activity.
Supplies
- Brown sugar cookie base
- Royal icing in one consistency: hybrid for everything – follow along with my coloring and consistency video here: https://youtu.be/gCGaPgN_lL0
- Icing colors: beige, purple, orange, and green
- Tipless piping bags
- Toothpick or scribe tool
- Circle cookie cutter
A note on flavor: I flavor all my icing with lime (my favorite is powdered lime), mostly because it means I can make a big batch, freeze it, and pull it out for any set at any time. But if you’re flavoring specifically for this one, orange or maple would be perfect. Maple extract is dark and will tint your icing a very light brown (which could be a time saver for making the beige icing color), which is usually a dealbreaker, but since this set doesn’t use any white, it works out just fine.
Key Takeaways
- Start with the pumpkin as it is easiest in my mind and will give you some confidence!
- Your base icing has to still be wet for any of this to work, so pipe and decorate one cookie at a time instead of flooding and setting aside
- Don’t be afraid to scrape off the icing and try again if the design isn’t coming together like you hope (I did this MANY times)
- Keep your scribe tool handy for nudging, a small push at the right moment keeps your shapes where you want them
Download the free guide and let’s decorate together!
Want More Holiday Singles?
If you’re in a seasonal mood, I’ve got two standalone cookie guides you can grab right now, no email required:
- Sugar Skull Cookie Guide: perfect alongside this Halloween set or on its own for Día de los Muertos
- Turkey Cookie Guide: for when you’re ready to move on from October