
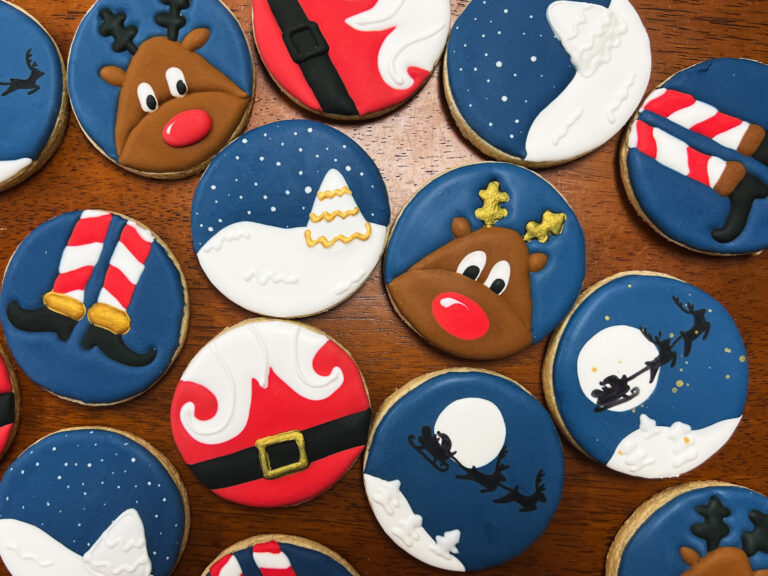
Last year, my mom sent me a photo of this absolutely gorgeous snowy Christmas cookie – navy sky, white trees, snow gently falling across the whole scene. I couldn’t stop thinking about it! That single image sparked this entire North Pole collection.
I immediately knew I wanted to recreate that snowy forest feel, but then my brain started spinning, what other North Pole scenes could I capture? Santa and Rudolph felt like obvious companions, and a moonlit sleigh silhouette seemed like the perfect complement to that dreamy winter vibe.
Originally, I was dead set on including a narwhal cookie (yes, really!). Think about it – narwhals actually live in Arctic waters around the North Pole, plus there’s that classic Elf reference. But here’s the thing: sometimes cookies just don’t cooperate and sometimes I’m just too tired to figure out how to make them work.
I was struggling with the narwhal design, not because it was technically difficult – well, maybe a little bit that – but because I personally was exhausted and didn’t want to be decorating at all. So I scrapped it. Sometimes you have to know when to pivot! I shared my bad fortune on Facebook and someone suggested elf boots instead, which turned out to be the perfect replacement and fits the collection beautifully.
Christmas Magic + Christmas Cookies
The first few times I ever decorated cookies was at a church activity and I was absolutely floored watching some of the women create Santa and Rudolph designs straight from their heads – no templates, no references, just pure skill and memory. I definitely had them in mind while creating this set!
This collection is all about filling in areas to create scenes and characters, which means drawing out your design first is really helpful. Don’t worry – I’ve got you covered with guidance and templates where you need them.
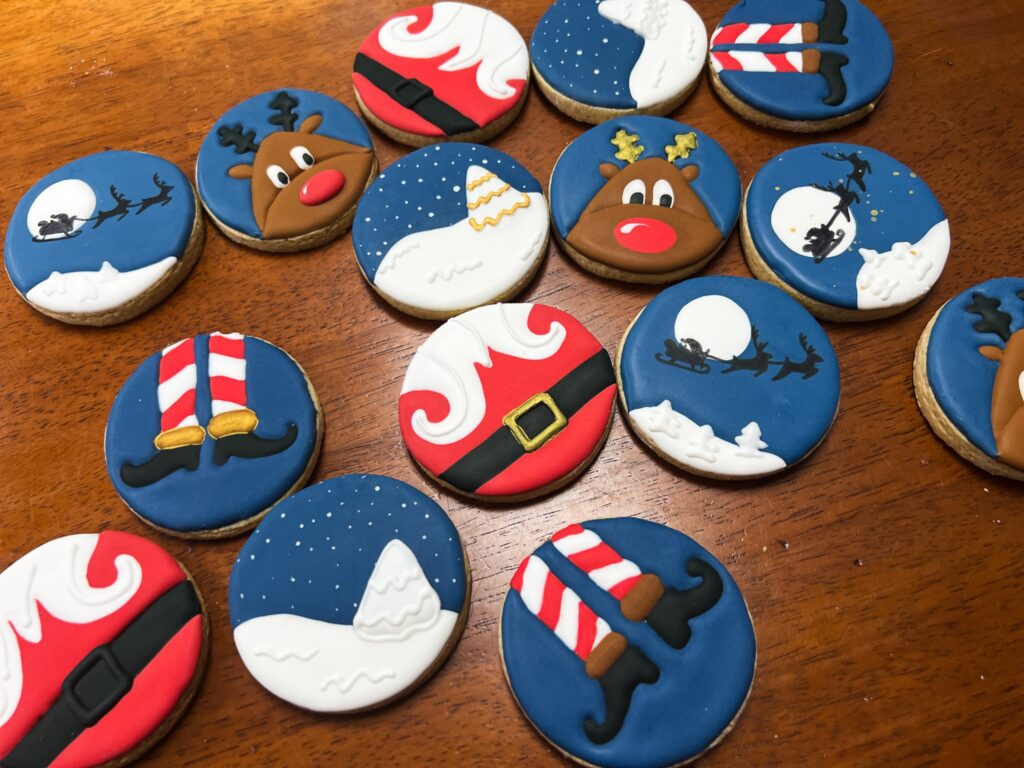
I kept the color palette manageable: white, red, navy blue, brown, and black. If you want to add some extra magic, you can use gold luster dust mixed with vodka or Everclear to paint on gold details after your cookies dry – but that’s totally optional!
Supplies
- Brown sugar cookie base
- Royal icing
- Gel food coloring: white, red, navy blue, brown, black
- Gold luster dust (optional)
- Vodka or Everclear for mixing luster dust
- Small paintbrush for luster dust application
- Two edible pens (one for drawing on cookie base, one fine-tip for tracing)
- Coffee filter or tissue paper
- Tipless piping bags
- Toothpick or scribe tool
Key Takeaways
- Sometimes the best inspiration comes from unexpected sources – like a photo from your mom!
- Don’t be afraid to pivot when something isn’t working (RIP narwhal cookie)
- Fine tip pens can be reinvigorated with a lil alcohol
Whether you’re channeling those skilled church ladies or just wanting to try your hand at some festive scenes, this North Pole collection gives you everything you need to create a magical holiday cookie experience. Download the free guide and let’s bring a little North Pole magic to your kitchen!