
After the vibrant rainbow colors of June’s PRIDE set and the character-filled Pokémon collection before that, I wanted to create something with a simpler color palette while still capturing a sense of playfulness and seasonal joy.
Water has always held a special place in my heart. Having grown up swimming competitively and playing water polo from a young age through my college years, I’ve always felt as comfortable in water as on land.
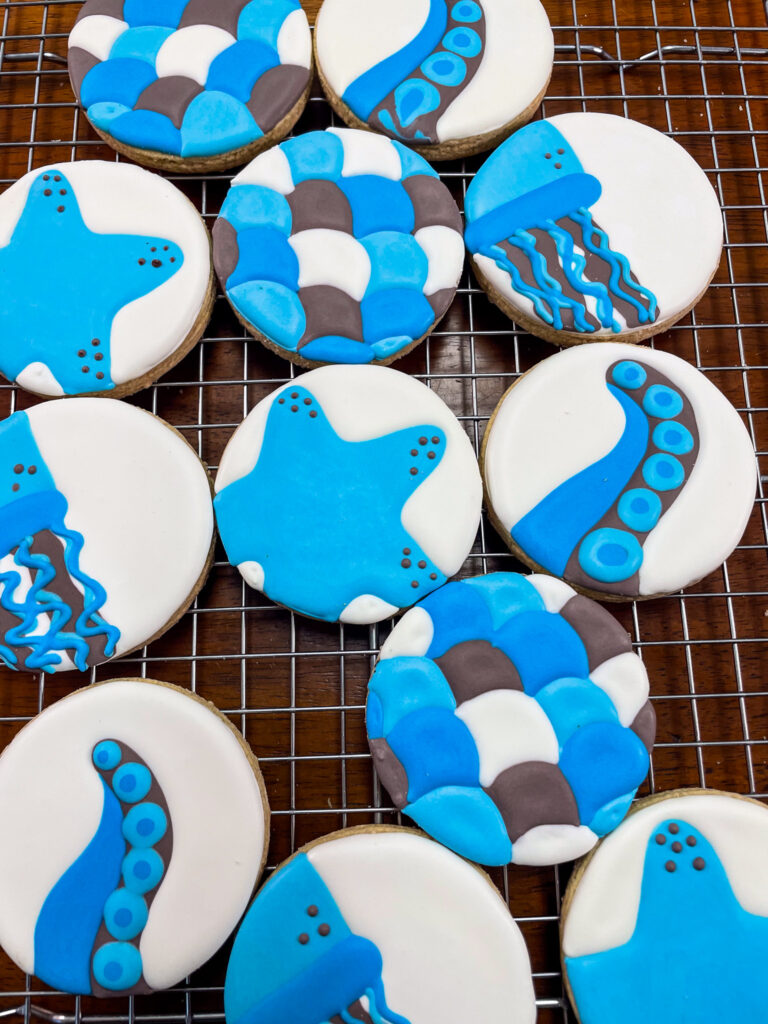
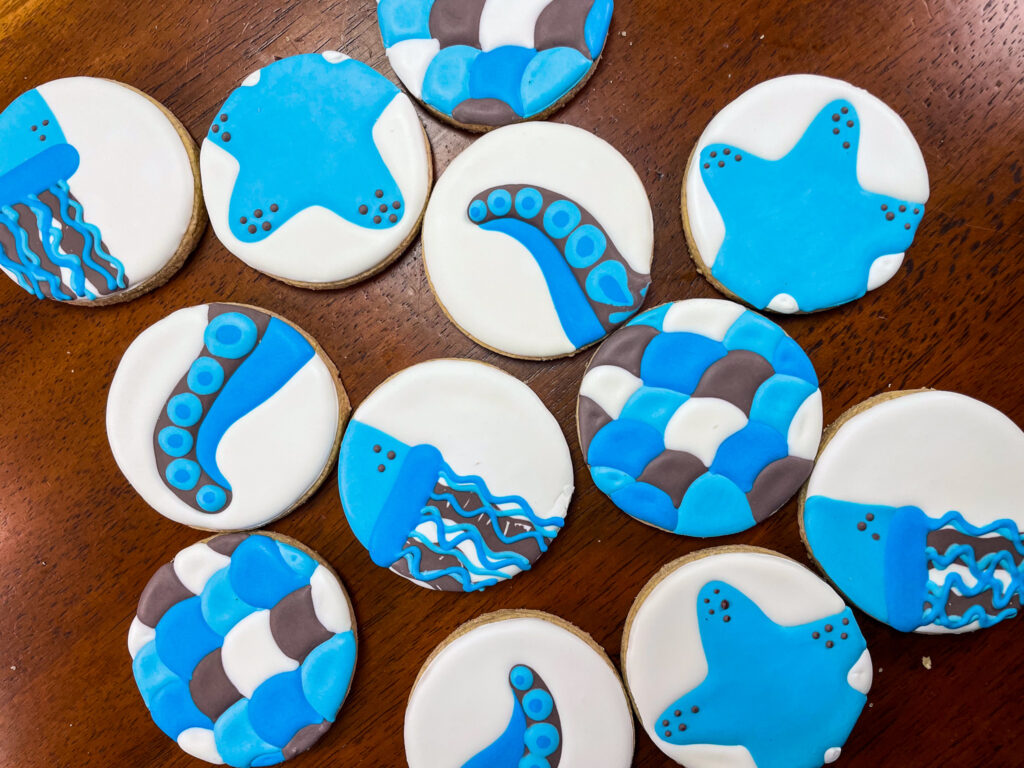
One of my favorite places, whether I live near or far is the Monterey Bay Aquarium. The jellyfish exhibit there is absolutely mesmerizing—I could sit in front of those tanks all day. They’re calming and captivating all in one. I’ve literally had a photo of those jellyfish as my phone background since I first got an iPhone over a decade ago!
What I love about this ocean-themed cookie set is that it demonstrates how you don’t need to be strictly literal with your colors to create a cohesive, themed collection. Real octopuses aren’t necessarily blue, starfish come in countless colors (and shapes), and fish scales display every hue imaginable. By choosing a unified palette of blues and purples, these cookies capture the “essence” of the ocean while still allowing for artistic interpretation.
As temperatures rise and summer adventures beckon, I invite you to dive into this ocean-themed cookie set.
Supplies
- Brown Sugar Cookie Base
- Royal Icing
- Blue gel food coloring
- Red gel food coloring
- White gel food coloring
- Edible pen/marker (thicker works better since you’ll draw directly on the cookie, not icing)
- Toothpick or scribe
- 7 (or more) tipless piping bags (and scissors to cut them)
- Paper towel
Under The Sea Cookie Designs
This set makes 4 main cookie designs: scales (fish or mermaid, dealer’s choice), octopus tentacle, starfish, and jellyfish.
For beginner sets, I really want to shy away from “layers”, but this set pushes those limits a bit. Every cookie needs some dry time between sets where you need your icing to “crust over” (slightly dry, where if you pressed on the icing, it has a slight crust to it). The plus side of every cookie needing some amount of dry time is you can do a step of a design, then move onto another cookie step for a different design.
I’d recommend starting with the scales, add one color, then transition to decorating one aspect of the tentacle, next decorate one aspect of the starfish, then end with decorating one aspect of the jellyfish. Then repeat this process until every cookie is decorated!
One optional piece I didn’t include in the directions was the addition of edible glitter! I nearly pulled mine out, particularly for the scales (hello rainbow fish!). If you want glitter on some scales and not other, pipe on those scales first (so for a rainbow fish, do white icing first), dust with glitter, then move onto the other colors without glitter.

Key Takeaways
I don’t make practice sets before I put together a design, so there’s always something I’ll learn and would want to change in the future, here’s those things.
- Practice drawing the base design on a piece of paper so it’s not as challenging when it comes to the cookie (but if you mess up on a cookie, no worries, you’ll just decorate over it!).
- Once again, making purple from red and blue is a challenge for me. Not as bad as last month, but I want a more lavender purple. Suggestions are welcome!
- Take the scales slowly and hopefully you won’t have weird icing craters (honestly, I have no clue why it happened to me sooooooo 🤷🏼♀️).