
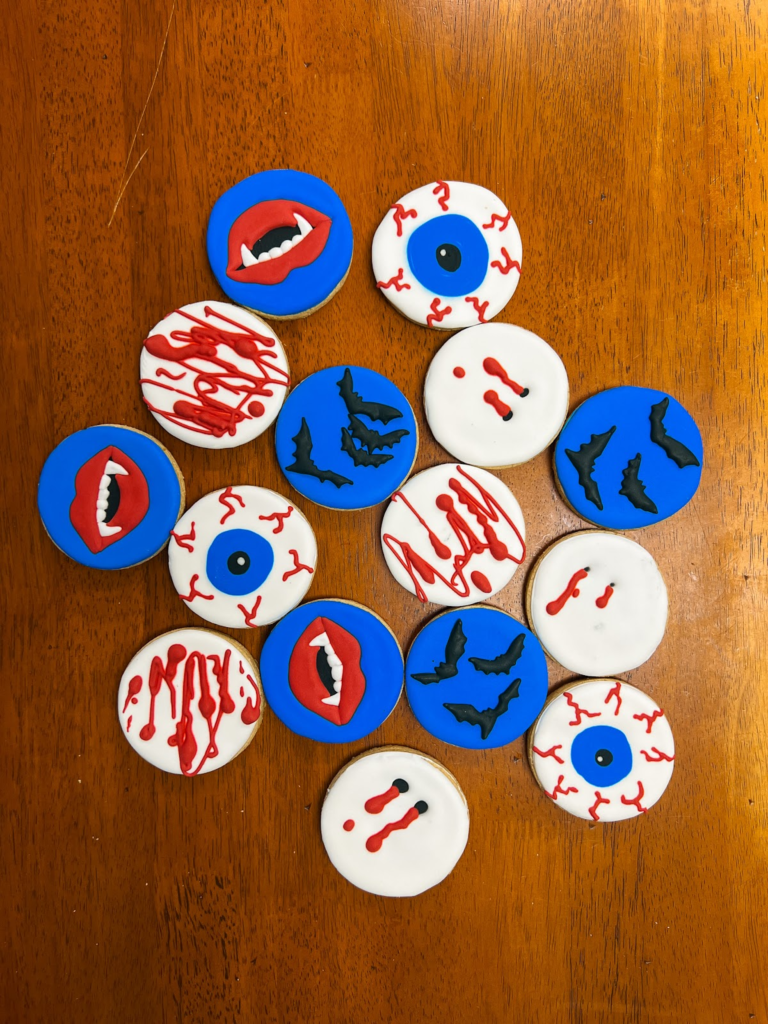
Halloween is my absolute favorite holiday but holiday cookies leave me stumped – especially if I stick to a circle cutter. This Vampire Cookie Set was born by accident, I slowly collected Halloween ideas and in the end, the vampire focus became apparent.
After 14 years of hosting Halloween parties (though never with a vampire theme, even this year won’t be vampires!) I’ve learned that the best themed treats strike that perfect balance between spooky and…edible. These cookies are inspired by classic vampire lore with a bit of new lore added in (I’m looking at you bloodshot eyes).
I kept the color palette intentionally simple: black, white, red, and blue. Four colors that create maximum drama with minimal fuss. Plus, working with a limited palette keeps everything cohesive and prevents that “too busy” look that can happen with Halloween cookies.
The Challenges and Surprises
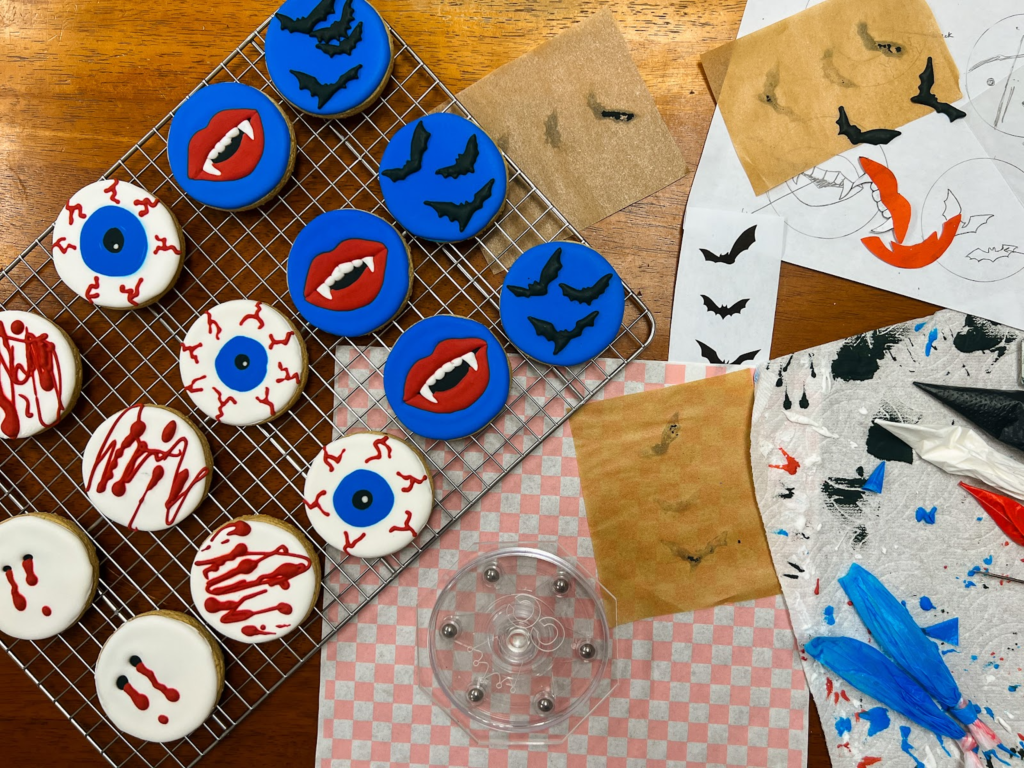
The blood splatter cookies were actually the easiest in the set—sometimes embracing the mess is exactly what you need!
The bite mark cookies gave me the most trouble and were a last-minute addition (that’s why they’re not in my original sketches!). The base icing kept making the bite holes smaller as it settled, which was frustrating but ultimately I could just make the holes bigger than I wanted and they would end well.
The fangs required some problem-solving since I didn’t want you to need a projector. I created a printable template that you place directly on the cookie for perfect placement every time.
For the bloodshot eyes, I had to justify their inclusion to a friend who questioned the vampire connection. My lore: when a vampire bites you, you get bloodshot eyes. It’s not common knowledge and I may have made it up, but it works!
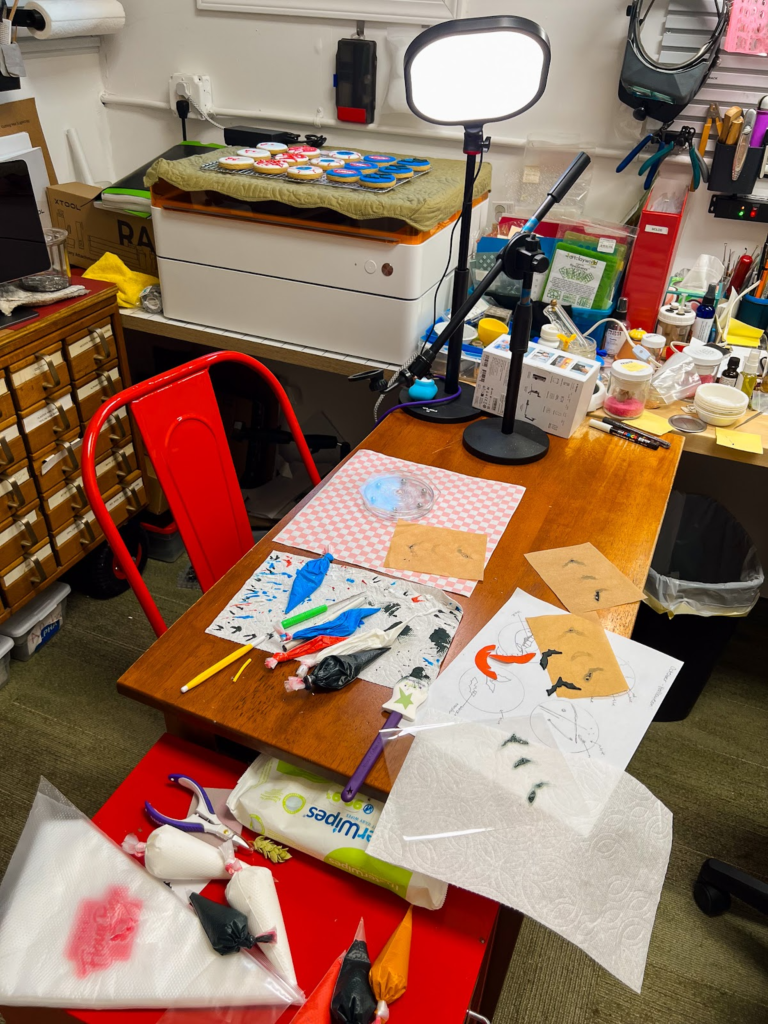
Supplies
– Brown sugar cookie base
– Royal icing
– Gel food coloring: white, black, red, blue
– Toothpick or scribe tool
– Edible pen/marker
– Butter knife or flat spatula
– Parchment paper
– 4 (or more) tipless piping bags (and scissors to cut them)
Key Takeaways
- This set does best when you move from cookie to cookie to allow for dry time in between decorating steps instead of focusing on one cookie at a time.
- The bat cookies work best as three-part cookies: make icing transfers first, flood the base, then add transfers when dry.
- For the fangs, let your base dry just enough to hold the template without sinking in, but not so dry that you can’t trace into it. I’d put the black base on the fangs and the bite cookie and then circle back to the fangs
- Blood splatter can just be letting icing fall onto the cookie or you can do that and add some additional “blobs” to your fallen lines.
- The bloodshot eyes benefit from decorating all at once, not allowing for additional dry time.
If you’re looking for a Halloween project that’s dramatic without being too complicated, this vampire set has you covered. Grab your piping bags, embrace the spooky vibes, and let’s get decorating!