
June brings a burst of color and celebration as PRIDE month is celebrated across the world!
PRIDE as we know it today traces back to the Stonewall Riots in June 1969. While LGBTQ+ individuals had been fighting for their rights to simply exist for years, when the police raided the Stonewall Inn, there was a shift for the gay rights movement. Led primarily by transgender women of color like Marsha P. Johnson and Sylvia Rivera, 500 – 600 fought back against police harassment.
What began as a protest has evolved into the month-long celebration today that continues to advocate for equality, visibility, and acceptance.
My own journey with the LGBTQ+ community has been shaped by friendship and love. By some funny coincidence, I’ve had a number of best friends who are a part of the LGBTQ+ community. I’ve witnessed the struggles they have gone through to accept themselves and be accepted by those around them for simply existing.
Something as simple as seeing rainbow flags displayed in shop windows or inclusive families portrayed in media can make someone feel seen and accepted in a world that isn’t always welcoming.
Cookies might seem like a small thing in the grand scheme of PRIDE’s important history, but I believe there’s something meaningful in creating and sharing food that celebrates identity and community.
In the words of Harvey Milk, one of the first openly gay elected officials in the United States: “Hope will never be silent.” These cookies may be simple sugar and icing, but they carry messages of hope, love, and celebration.
Supplies
- Brown Sugar Cookie Base
- Royal Icing
- Blue gel food coloring
- Yellow gel food coloring
- Red gel food coloring
- Black gel food coloring
- White gel food coloring
- Toothpick or scribe
- 7 (or more) tipless piping bags (and scissors to cut them)
- Paper towel
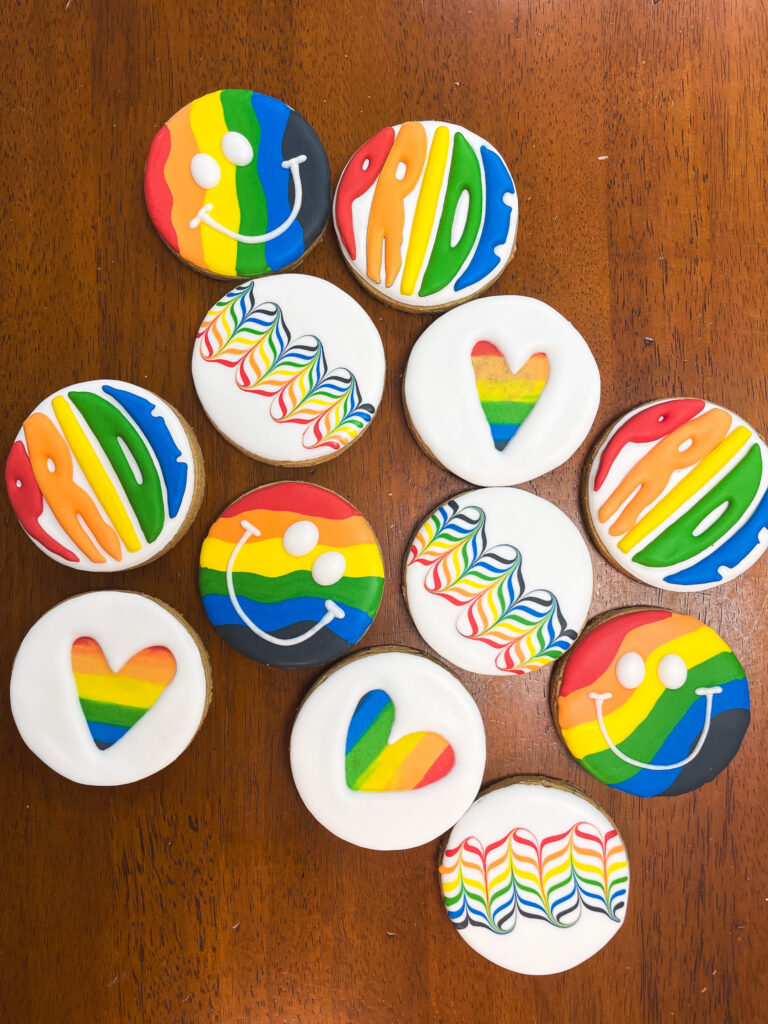
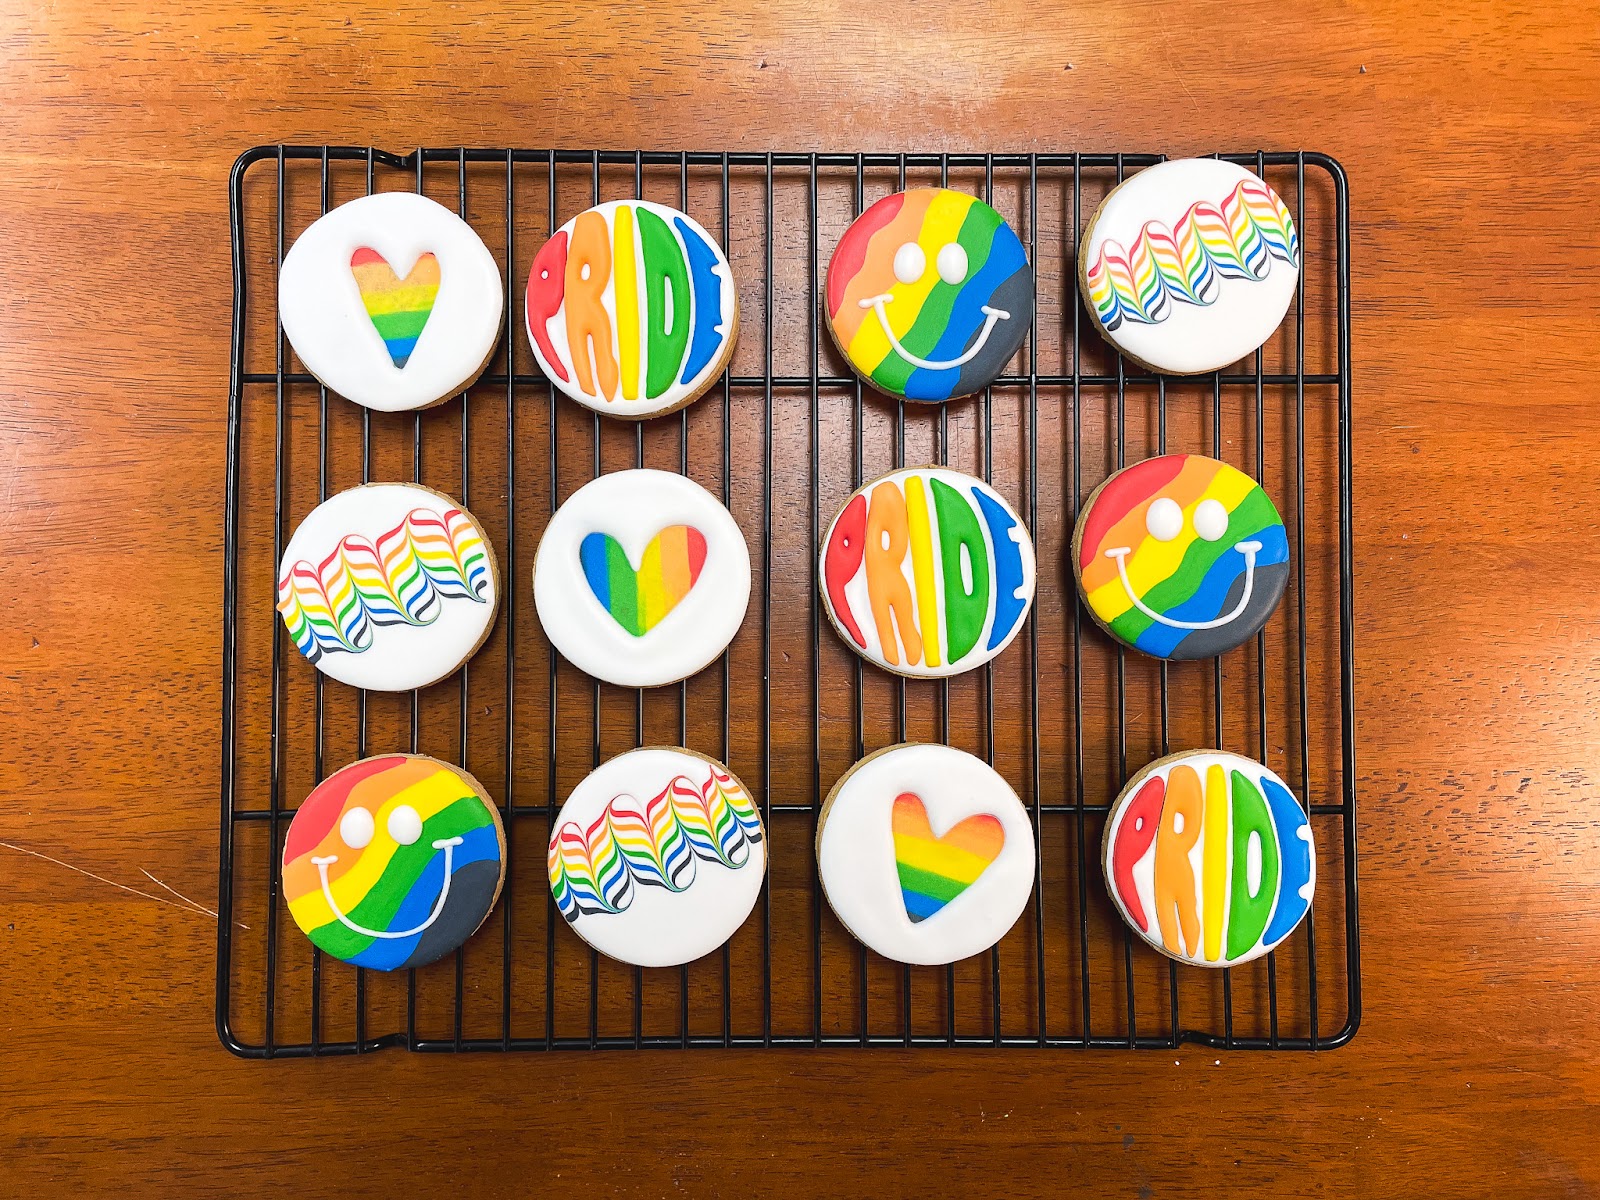
PRIDE Cookie Designs
This set makes 4 main cookie designs: icing transfer PRIDE cookie, rainbow smiley face, rainbow heart, and rainbow drag cookie.
This set has a mix of cookies with layers and those without. This means you can do the base of the PRIDE and rainbow smiley face cookies first, then the base of the rainbow heart cookie, next the drag cookie, then be able to go back and finish the other three cookies.
Since this set involves so many colors, especially those that require a lot of pigment (red, blue, and purple), I recommend using white food coloring in the base of all your icing. I add white to all my icing in every set since my first full set I made for my birthday. Half my icing had white added, the other half didn’t (I didn’t plan my icing well, it happens!). It was so noticeable the difference between colors and where butter “bled” into the icing and discolored it more.
The most difficult part of this set was placing the icing transfers for the PRIDE cookie (because I have shaky hands) and making sure all the colors were in the rainbow heart cookie.
Key Takeaways
I don’t make practice sets before I put together a design, so there’s always something I’ll learn and would want to change in the future, here’s those things.
- Making purple from red and blue is hard. I’ve done it before, but this time around it felt impossible and was just really dark. I have no tips, sorry 🤷🏼
- When spreading out the icing on the rainbow heart cookie, use the back of a butter knife and try to spread it like butter. It’s okay to go over it a couple of times.
- For the PRIDE icing transfers, you can also use a cello bag (the type of bag you would pack a cookie into, stiffer than a sandwich bag) to clearly see the image below and keep it really flat.