
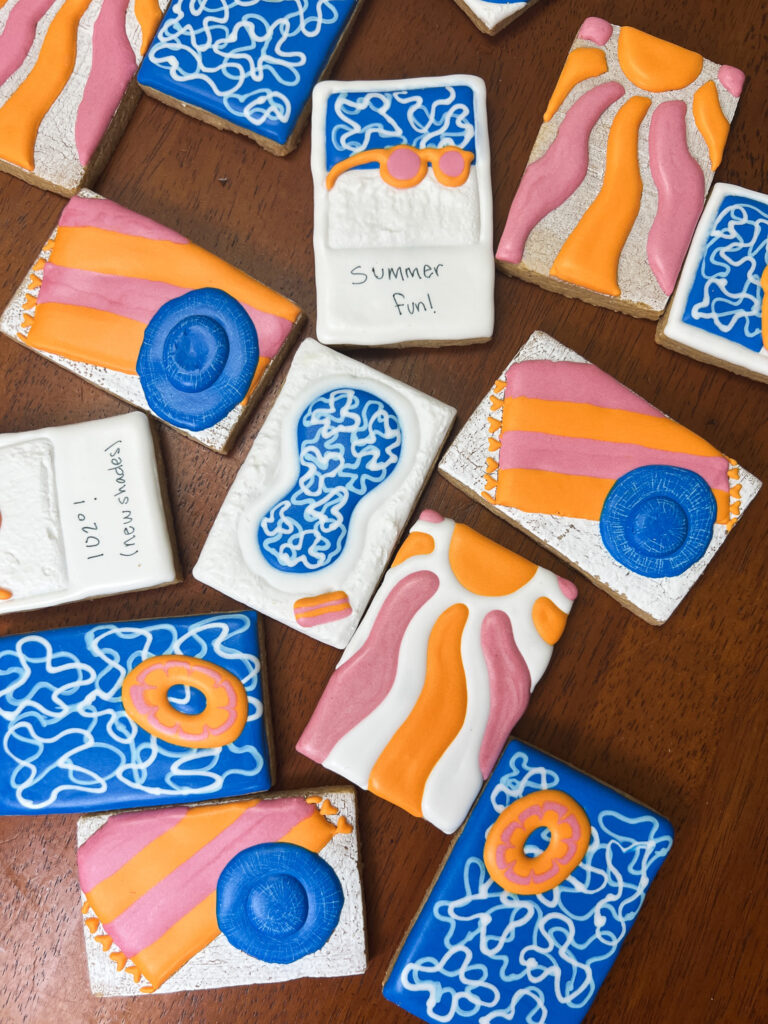
Summer called and it wants cookies. Specifically, poolside cookies that are perfect for a warm evening of decorating. Also perfect for a bachelorette party, birthday party, or block party!
This set includes four designs, all on rectangle cookies: a groovy retro sun, a polaroid, a poolside towel and hat, and pool water with a floatie (which was the original cookie behind the whole set).
Two caveats worth mentioning upfront. First, there are two icing transfers in this set – sunglasses and an inner tube – which need to be made ahead of time and fully dried before you can use them. Second, there is a scratching technique on one of the cookies that might be new to you (it was brand new to me here), but I promise it’s super simple and very forgiving.
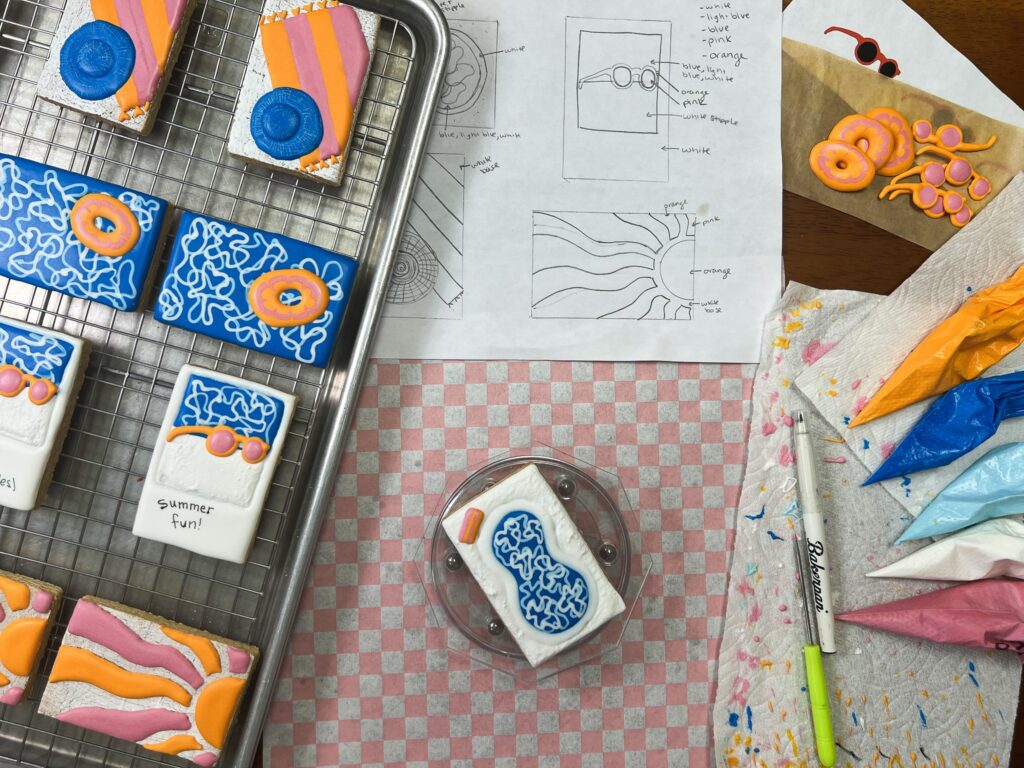
Rectangle Cookie Cutter
Rectangle cookies is actually where I wanted Iced Kitchen to start from the very beginning. I ended up having my sets in the beginning be circles because they’re more accessible (you can cut circles with a regular drinking glass if you don’t have a cutter), but rectangles have my heart.
Outlining a rectangle cookie is actually my one exception to my personal rule of hating piping straight lines.
For this set, I used a 3.5 inch rectangle cutter, 3D printed from a file by Frosted by Meagan. She also sells the physical cutter if you’d rather skip the printing, and fair warning – her shop is an easy rabbit hole to fall into, I’m not sure she has a cutter I don’t want.
Icing Transfers: Sunglasses & Inner Tube
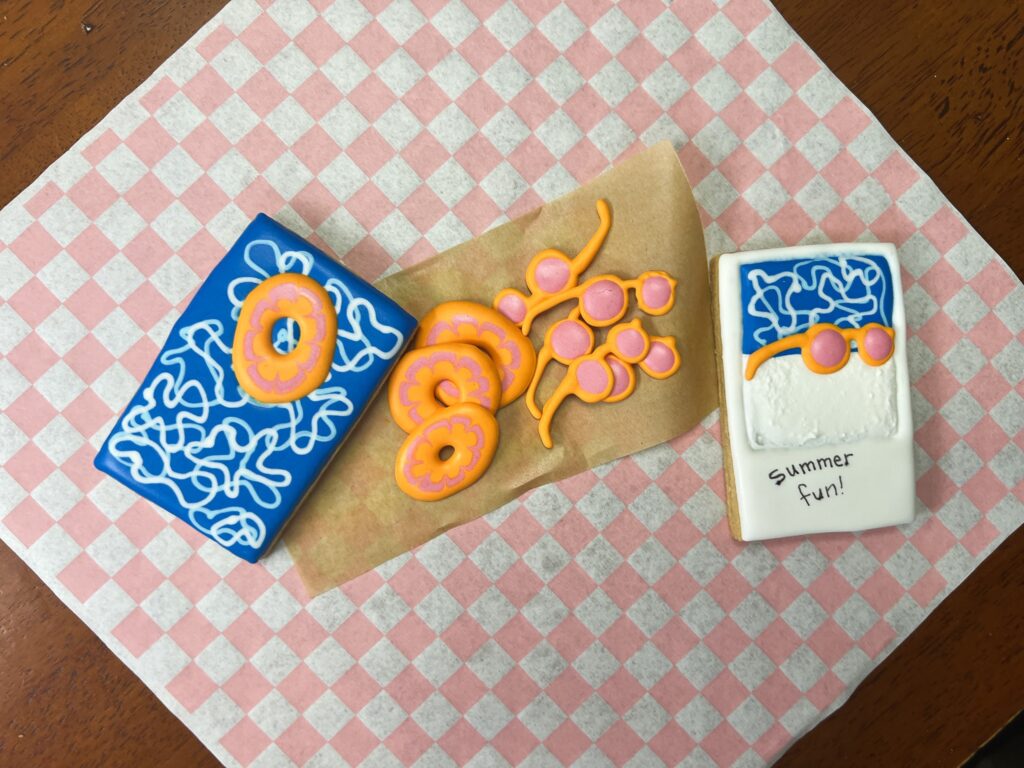
This set has two icing transfers: a pair of sunglasses for the polaroid cookie and an inner tube for the pool floatie cookie.
They need several hours to fully dry before you can place them onto your cookies, so get them out of the way before you do anything else. You can cut your and use your piping bags and put them in the fridge to use again when you’re ready to decorate your cookies. Just massage the piping bag and clear the tip to be good to go.
Decorating Order Recommendation
This set has a few moving parts, but it’s very manageable. Here’s how to approach it:
- Make your icing transfers first (sunglasses and inner tube) and let them fully dry for a few hours
- Start the polaroid cookie with the first layer
- Pipe the towel on the poolside cookie
- Decorate the sun cookie
- Come back to the polaroid cookie to add the pool water and place the sunglasses transfer
- Add the hat brim and towel tassels to the poolside cookie
- Decorate the pool floatie cookie and place the inner tube transfer
- Add the white border to the polaroid cookie
- Add the crown of the hat to the poolside cookie (the part above the brim)
- Once everything is fully dry, finish with an edible pen message on the polaroid cookie and use your scribe tool to scratch texture into the hat
Patience is always the hardest part!
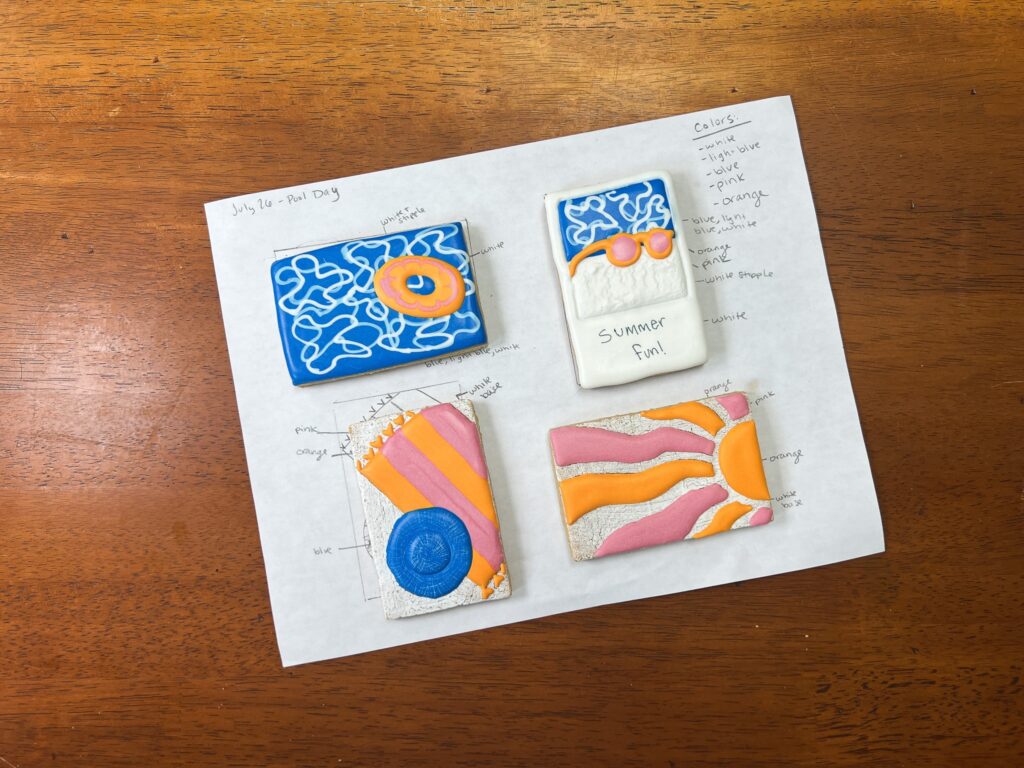
Supplies
- Brown sugar cookie base
- Royal icing in one consistency: hybrid for everything – follow along with my coloring and consistency video here: https://youtu.be/gCGaPgN_lL0
- Icing colors: white, light blue, blue, orange, and pink
- Tipless piping bags
- Toothpick or scribe tool
- Parchment paper for icing transfers
- Edible pen for drawing your design onto each cookie
- Rectangle cookie cutter (3D print or buy)
Key Takeaways
- Make your sunglasses and inner tube icing transfers first and give them plenty of dry time
- The scratching technique on the hat is new, forgiving, and really fun – give it a try
- The retro sun was my favorite to do, it’s straightforward, but allow your icing to flow out of your piping bag to get those curves
Pool’s open. Download the free guide and let’s decorate together!