
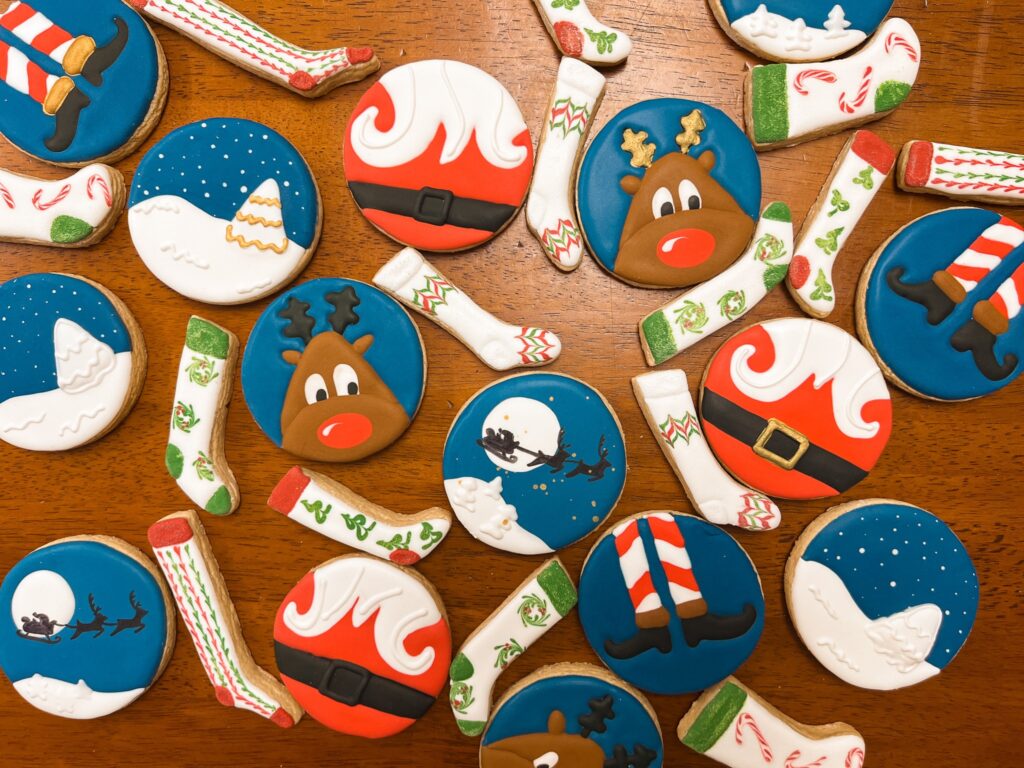
When Black Friday rolled around this year, I knew I wanted to share something special with you all before December’s North Pole collection dropped. And honestly, it felt like the perfect time to finally tackle something I’d been putting off for years – those adorable stocking cookie cutters that have been sitting in my supplies since 2021.
This is actually my first cookie set guide using shaped cutters, which feels like a pretty big milestone! But before we get into the techniques, let me tell you the absolutely ridiculous story of how I ended up with these cutters in the first place.
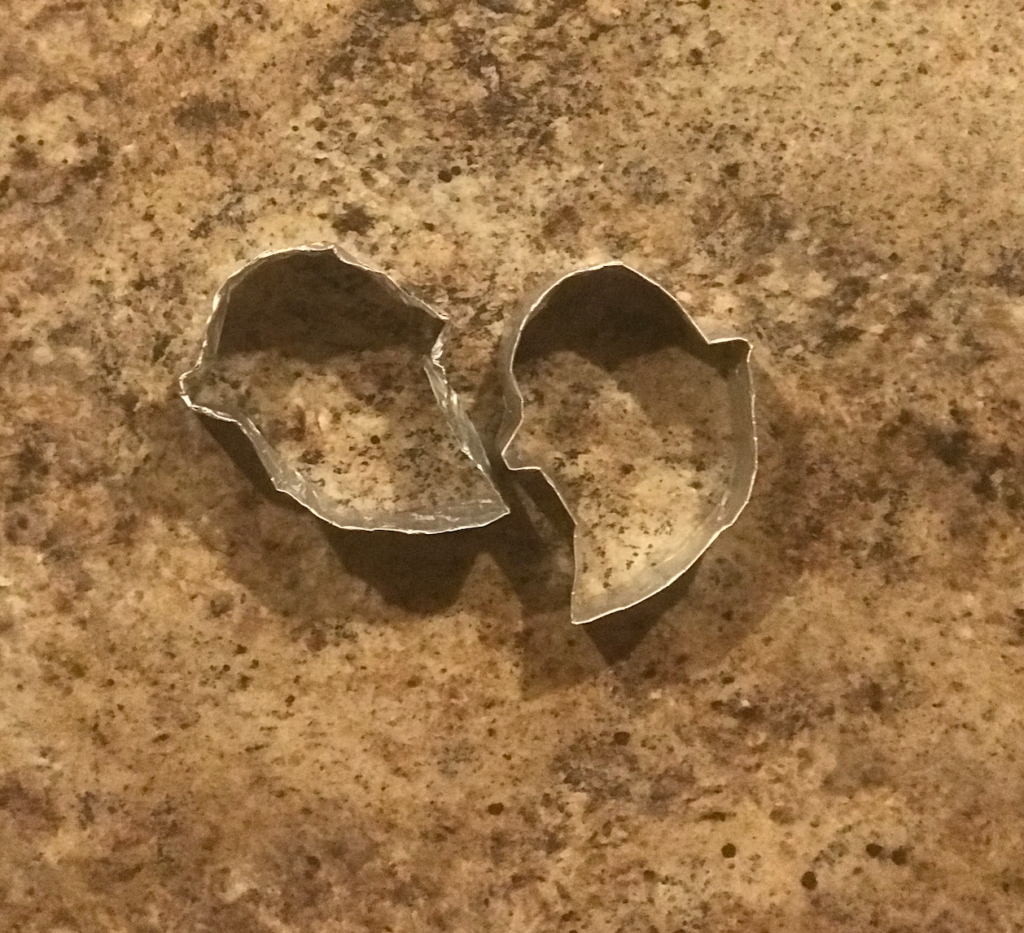
Years ago – probably 2018 or 2019 – my friend and I saw these adorable ghost cookies from Sugar Bombe and immediately ordered the cutters to make them ourselves. When we finally planned to use them, they somehow got left at another house and we couldn’t get them in time. Fine, next year! Except when the next year came around, the cutters had completely disappeared. Like, vanished into thin air along with a red powdered food coloring I had stored with them. Literally no idea where they went, but desperate times called for desperate measures – we ended up making foil cookie cutters in a similar shape that were bigger and SO hard to work with.

Fast forward to 2021, and I decided to just bite the bullet and order the ghost cutters again. But here’s the thing about shipping from small businesses (and I’m not complaining – it’s just reality!) – the shipping was about 2/3 the price of the cutters themselves. So naturally, I needed to add something else to make that shipping cost sting less. Enter these super cute Christmas stocking cutters!
Plot twist: it’s now 2025, I’m finally making the stockings, and guess what? I STILL haven’t made those ghost cookies. The universe has a sense of humor, apparently.
Why Shaped Cutters?
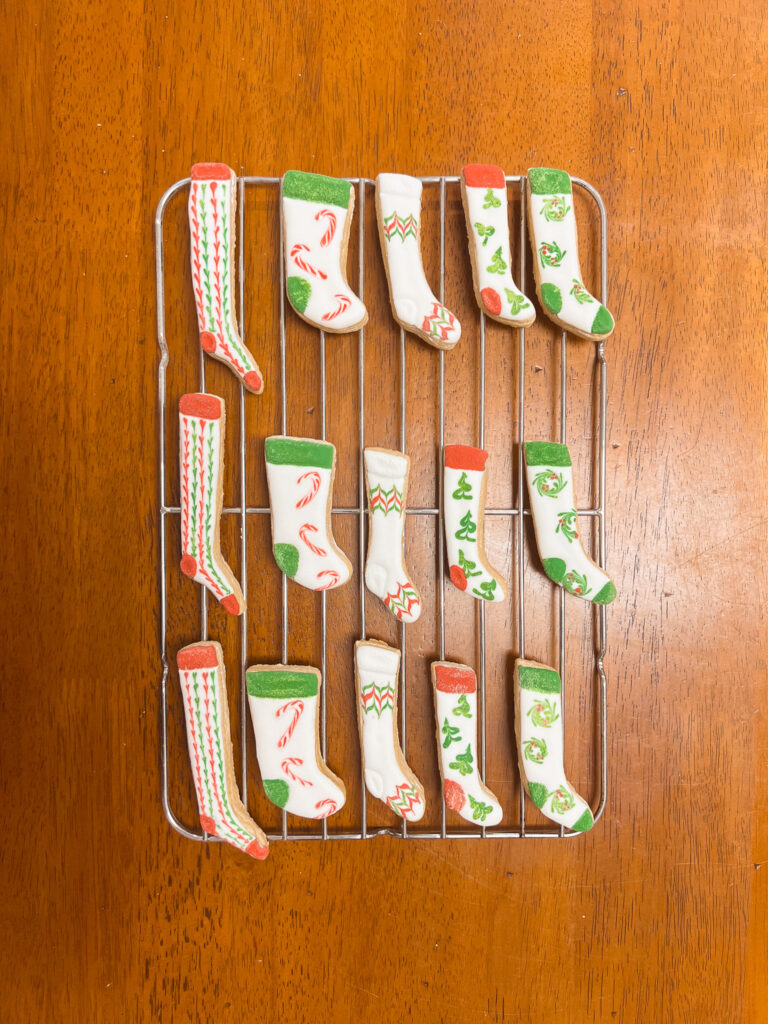
I’ve avoided using shapes cookie cutters because they are yet another thing you need to make the cookies and I like to remove any barriers to getting started. But not everything can be a beginner cookie and on circles! These stockings are an ideal size for gift boxes or adding to a holiday cookie platter and a great size for easy snacking. Plus, they gave me the perfect canvas to practice two techniques: drag and velvet texturing. (The drag technique is the first one I learned in cookie decorating!)
I kept this set intentionally simple with just three colors – red, white, and green. If you’re planning to tackle December’s North Pole collection, too, you’ll already have red and white ready to go, so you’re just adding a basic green to your palette.
The Techniques and Challenges
The drag technique is incredibly satisfying and these stockings are perfect for practicing. The key thing I learned (sometimes the hard way) is to stay more on the surface of your icing rather than poking too deep and wiping off your scribe tool after every single use. Trust me on this one!
The velvet technique for the stocking cuffs creates this gorgeous texture that looks way fancier than the effort required. But here’s the important part: make sure any icing that you don’t want textured is 100% dry before you start dusting with powdered sugar or it will pick up that texture, too. Alternatively, you can carefully dust it off those sections afterward or protect them with parchment paper while you’re working. Or alternatively, alternatively you can do the cuff and heel (and toes) first with the technique and then the body of the stocking.
Supplies
- Stocking-shaped cookie cutters
- Brown sugar cookie base
- Royal icing
- Gel food coloring: red, white, green (or blue and yellow)
- Powdered sugar (for velvet technique)
- Sieve
- Scribe tool or toothpick
- Small brush or dusting brush
- Parchment paper (optional, for protecting sections)
- Tipless piping bags
Key Takeaways
This set really reinforced why I love working with specialty cutters – they give you such a fun base to work off of. The drag and velvet techniques complement each other beautifully, and once you master the first stocking, the rest flow naturally using the same methods.
Shaped cutters open up so many possibilities for future designs, and honestly, it makes me want to finally dig out those ghost cutters and give them the attention they deserve!
If you’re ready to try some new techniques with a forgiving, festive design, this stocking set is perfect for building your skills. Whether you’re making them as standalone holiday treats or planning to pair them with other December cookies, they’re guaranteed to impress. Download the free guide to follow along step-by-step!