
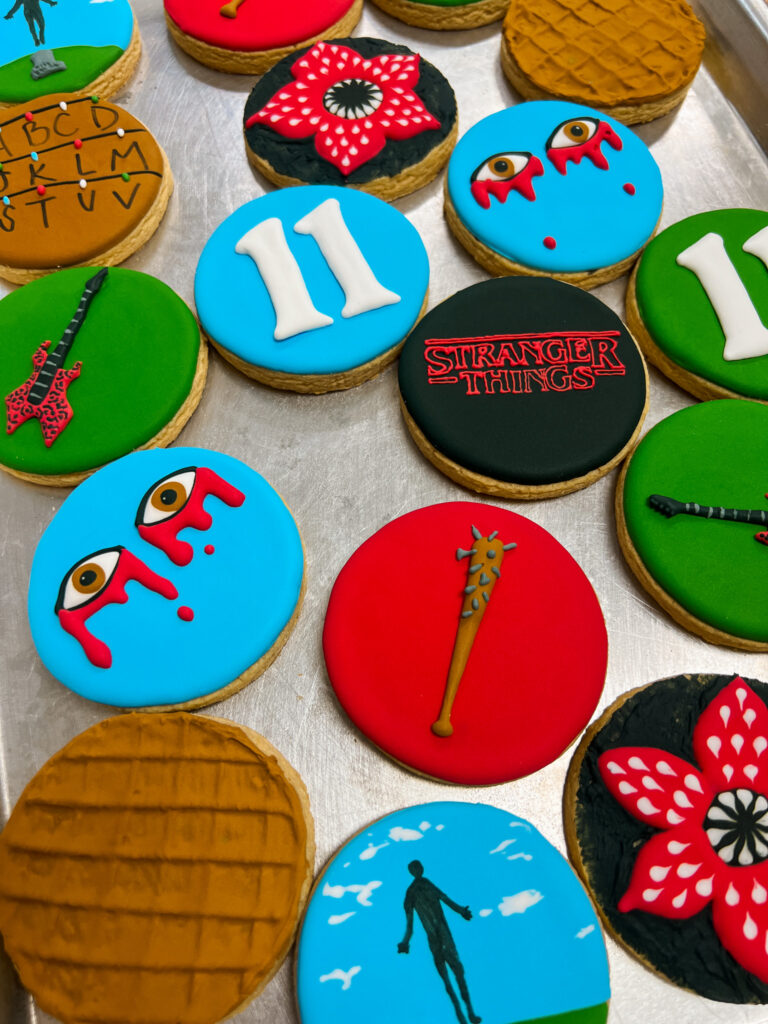
When I heard the 5th and final season of Stranger Things was releasing this year, I knew I had to create a cookie set to mark the end of this cultural phenomenon. Stranger Things has absolutely made its mark on our collective consciousness and it’s certainly one of my favorite shows (along with Freaks and Geeks – seeing a theme???).
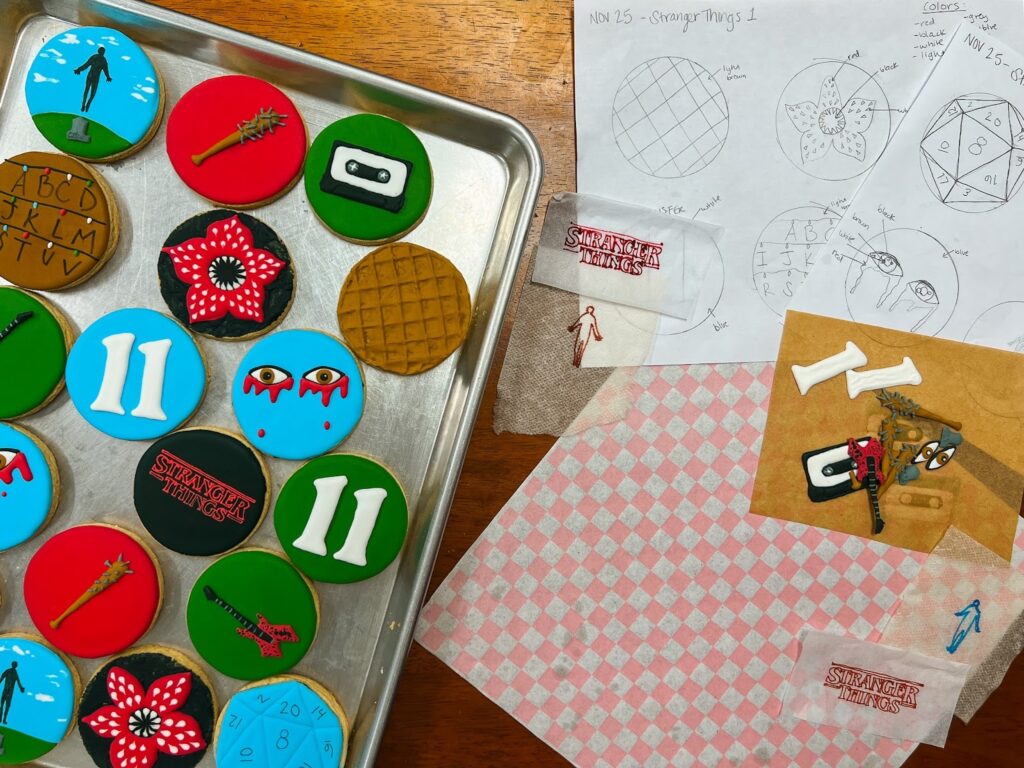
But while I wanted to do a set, I didn’t really know what it would entail until I sat down and planned it out. Except the demogorgon—that one I’d been wanting to tackle for months and have a test cookie of it in my freezer. And making it 11 cookies? Well, that just felt right.
I can distinctly remember when I first watched Stranger Things at my husband’s aunt’s house during a family visit. His brother put on this new show and I didn’t want to watch what felt like horror. Then I got completely sucked into the plot and have loved it ever since. I recently rewatched every season, and honestly, I don’t have a favorite character—it changes scene to scene! They’re complex, comedic, archetypal, stereotypical—how they all fit together to create this story is fantastic and exactly what draws you in.
I kept the color palette manageable for such a large set: white, grey, blue, green, red, brown, and black (i even forgot to make grey until we started decorating, so I teach you how to make it on the fly in the YouTube video). Seven colors for eleven cookies sounds like a lot, but I tried to limit it as best as possible while still capturing that Stranger Things aesthetic.
The Challenges and Surprises
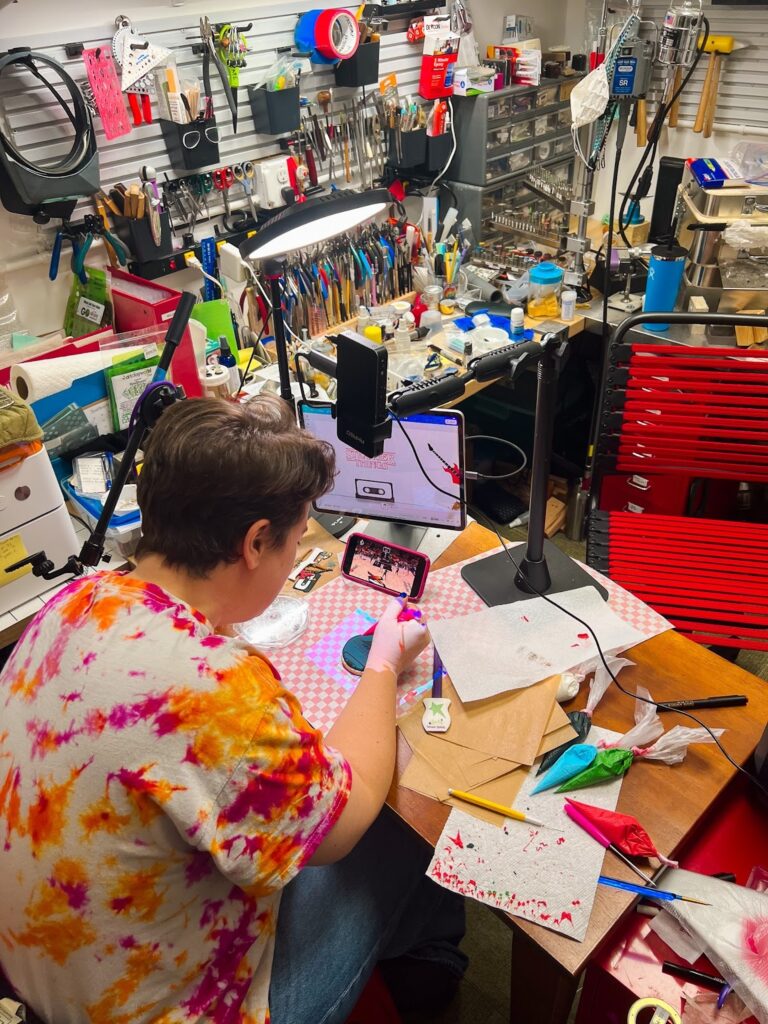
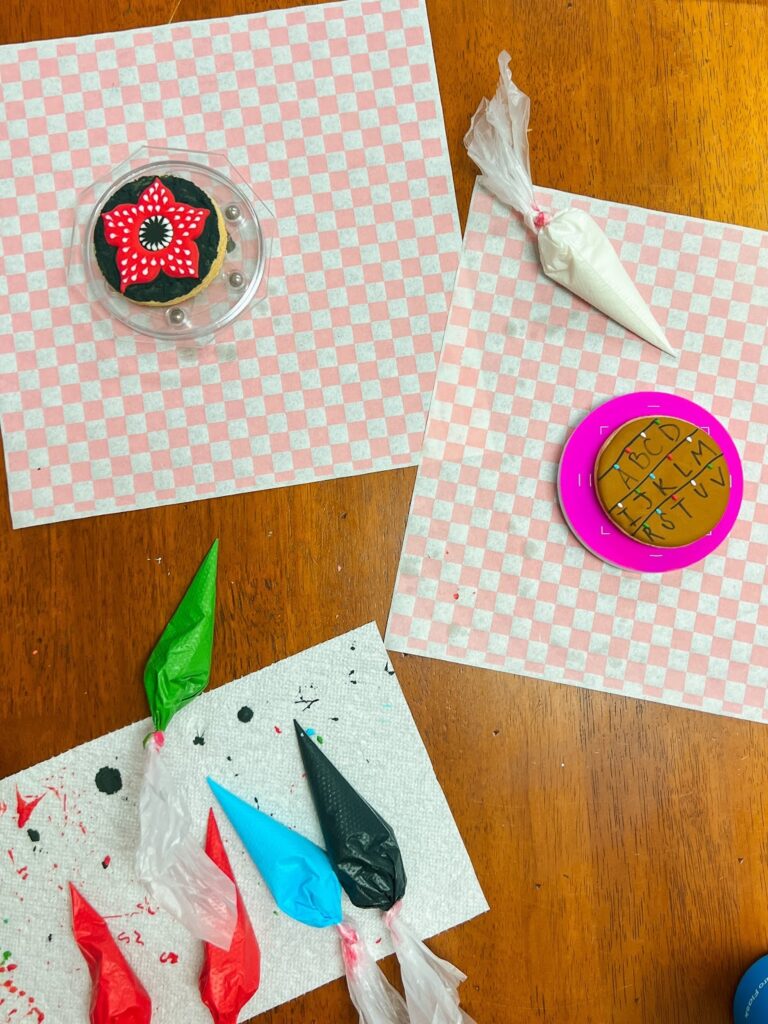
It should come as no shock that the bonus, advanced “Stranger Things” lettering cookie—the one requiring my projector—was the biggest challenge. My hands are shaky and weak, so I ended up filling in my letters rather than outlining them. But my friend Abi (who I originally started decorating cookies with as a hobby and was able to join me for this set) tried it from a completely unpracticed place and absolutely blew me away with her lettering. This is a skill you can definitely learn!
I thought Eddie’s guitar was going to be so difficult, but it came together really well. The hardest part ended up being the frets on his guitar—such tiny details!
The D20 gave me more trouble than expected. I thought I could just draw it out freehand, but dang, it was hard! So I created a template for the download to make it easier for you.
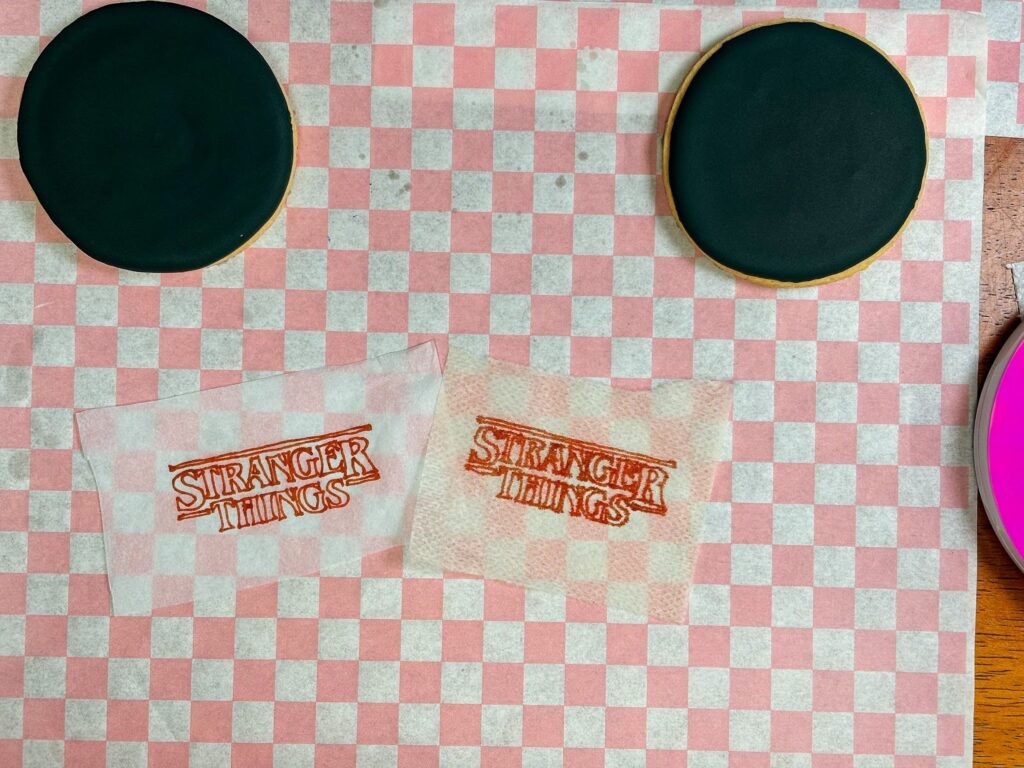
I also tried to use the image transfer technique (like we do for Vecna’s Curse with Max’s silhouette) for the Stranger Things lettering cookie. I’ve used this trick before for writing on cookies without needing a projector. But because the cookie background is black, you just cannot see the black edible pen after it dries. I really wanted it to work to make this cookie more accessible without specialty tools—it could be done, just not with a black background!
For the alphabet cookie, I didn’t want to include the whole alphabet, so I tried to do a snapshot. I think it works, but I messed up the alphabet when writing it out.
Supplies
– Brown sugar cookie base
– Royal icing
– Gel food coloring: white, grey, blue, green, red, brown, black
– Toothpick or scribe tool
– Edible pen/marker
– Brush
– Tissue paper or coffee filter
– Parchment paper or acetate for icing transfers
– Multiple tipless piping bags
– Projector (for challenge cookie only)
Key Takeaways
- About half of this set uses icing transfers, so you can achieve detail while maintaining that clean cookie look. One cookie in particular—Vecna’s Curse—combines an icing transfer with the actual cookie design.
- There’s not a single cookie in this set that doesn’t require some drying time between steps. But with 11 cookies involved, I think it actually works out perfectly—there’s always something else to work on!
- Here’s my recommended order: Start with all icing transfers first (some need their own drying time), then waffle bases, first stage of D20, then all the icing transfer cookies (Eleven, Steve’s bat, Eddie’s guitar, bleeding eyes, Vecna’s curse, mixtape), then alphabet lighting and the bonus Stranger Things cookie, then demogorgon base and center circle (needs the least dry time—10 minutes max), back to D20, finish waffles, finish demogorgon, final D20 icing, back to icing transfers, alphabet, D20 details, and end with the Stranger Things cookie.
All printable templates are included in the free guide, especially for those icing transfers that make this set possible.
If you’re ready to venture into the Upside Down of cookie decorating, this set has everything you need. Grab your piping bags, channel your inner Hawkins resident, and let’s get decorating – download the free guide to follow along!